Portable Clamp Rack
G clamps are heavy items and I decided that something portable around the workshop was needed to carry and store them. This project is to show how a simple machine stand can be converted to a heavy duty clamp rack.
How to convert a Record Power DML305/A Adjustable lathe stand into a heavy duty clamp rack
We have recently made a DML305/A Adjustable Lathe stand into a heavy duty clamp rack with the purchase of a couple of extra items. The following items are needed to make this very useful rack.
2 of 25mm x 25mm x 2mm thick box section steel 915mm long.
4 of 80mm x 8mm hex bolts with nuts
4 of 60mm x 8mm hex bolts with nuts and washers
4 of heavy duty swivel castors with no less than an 8mm hole in the swivel.
Remove all the items from the stand box and assemble as per instruction manual.
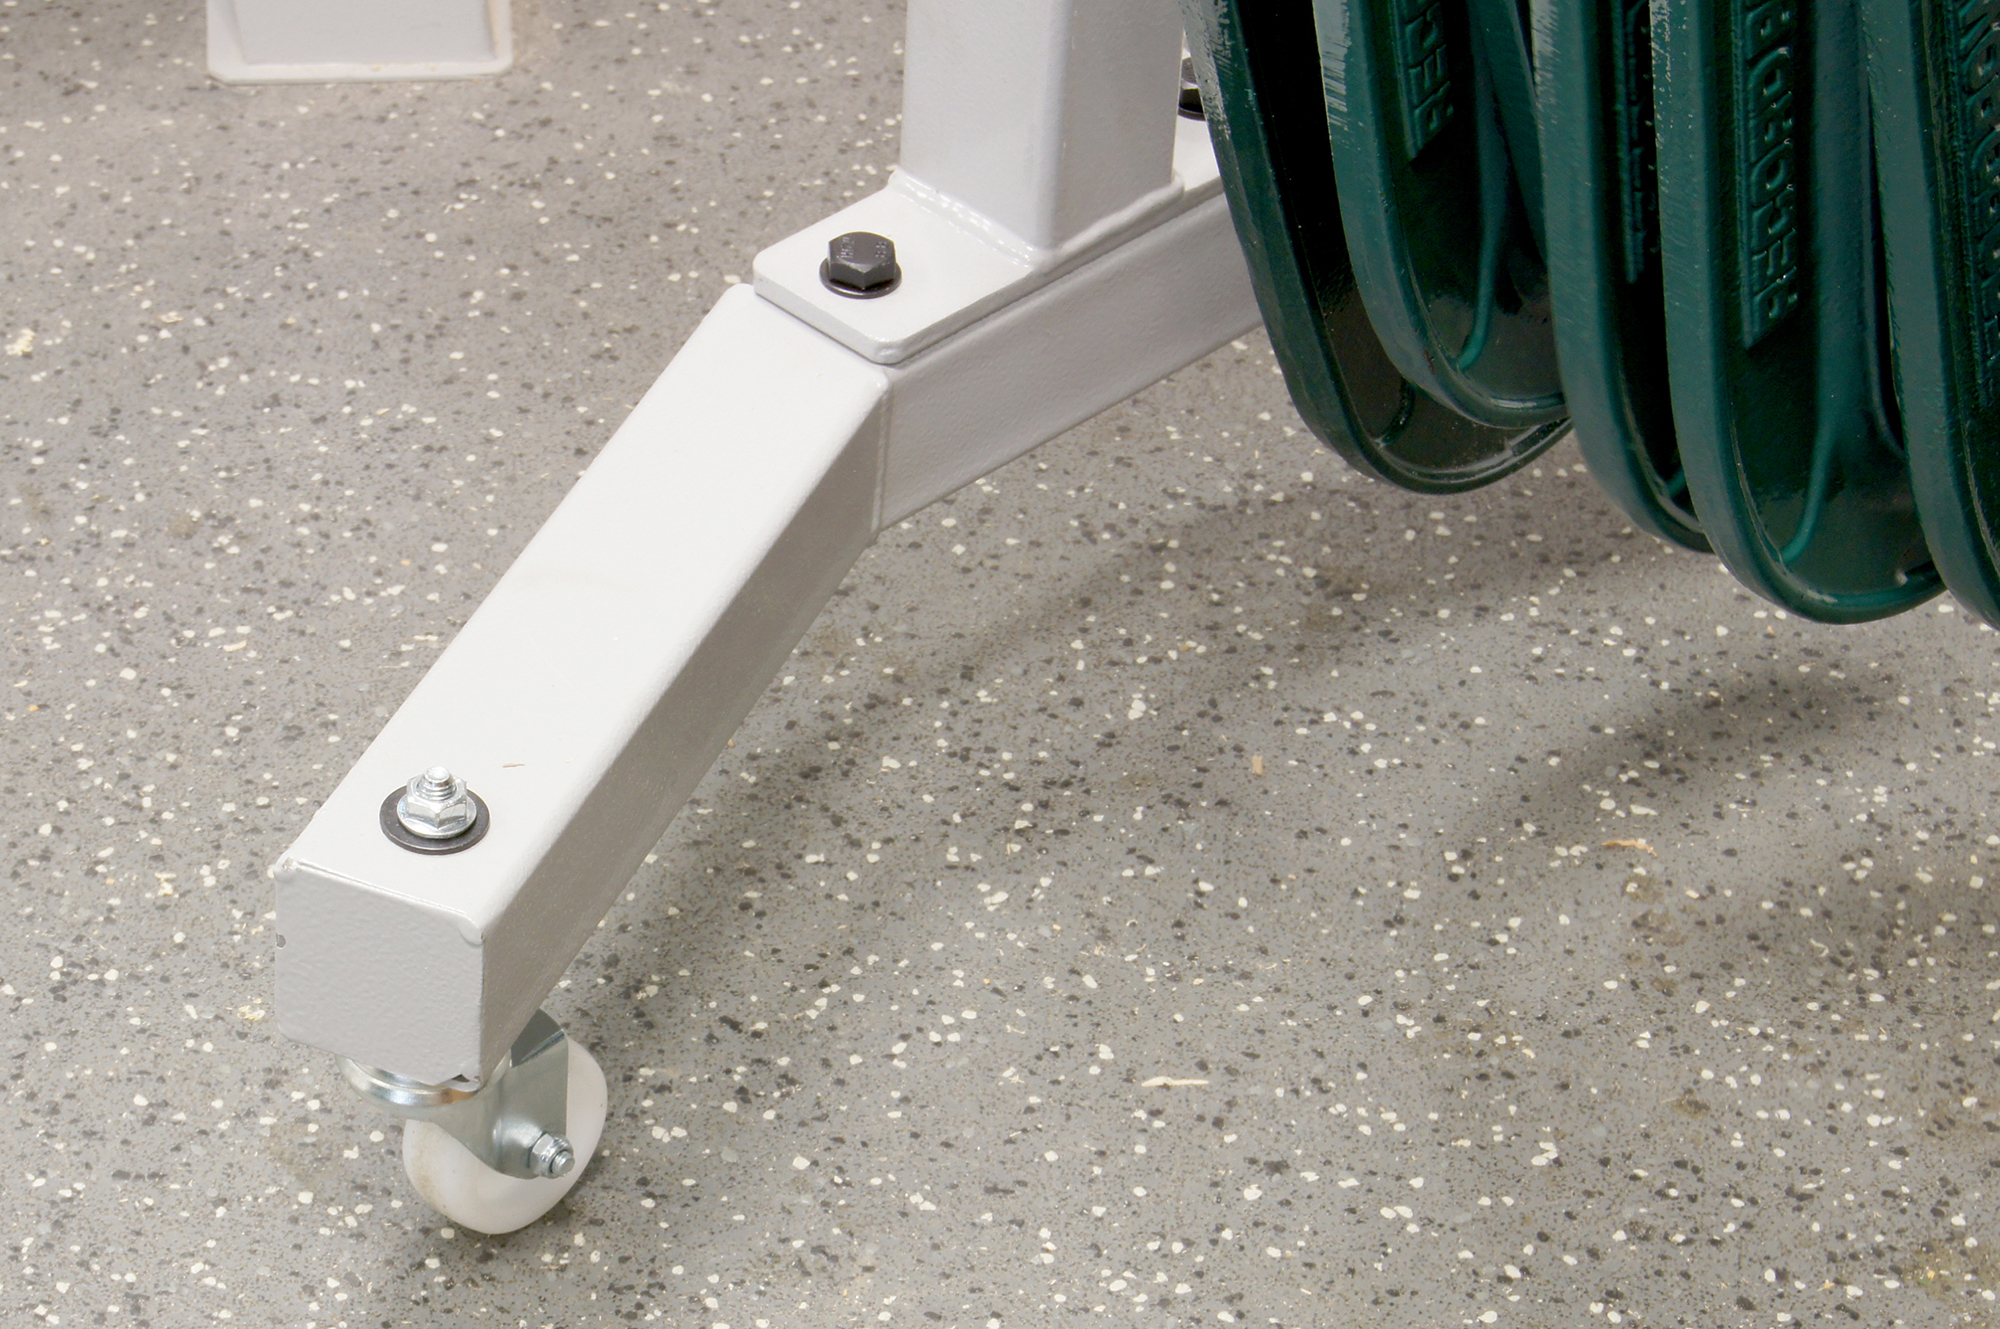
You will need a set of circlip pliers for the next stage. The feet that are supplied with the stand need replacing with a set of castors. To remove the rubber foot bolt, you must first remove the circlip inside the rubber foot which with the stand upside down you will see. Once removed you can pull off the rubber foot and corresponding steel washers, which you will use for the castors. The washers both have an 8mm hole but one of them is much larger in size than the other.
When you remove the circlip pull off the rubber foot and keep the washers to hand. Using an 80mm bolt place the small washer on the bolt up to the head and place into the castor. The bolt and caster need to be put into the leg hole from underneath then place the larger of the two washers you have saved on the end of the bolt and place a nut onto it and tighten fully. Do this for all four and turn the stand over onto its new castors.
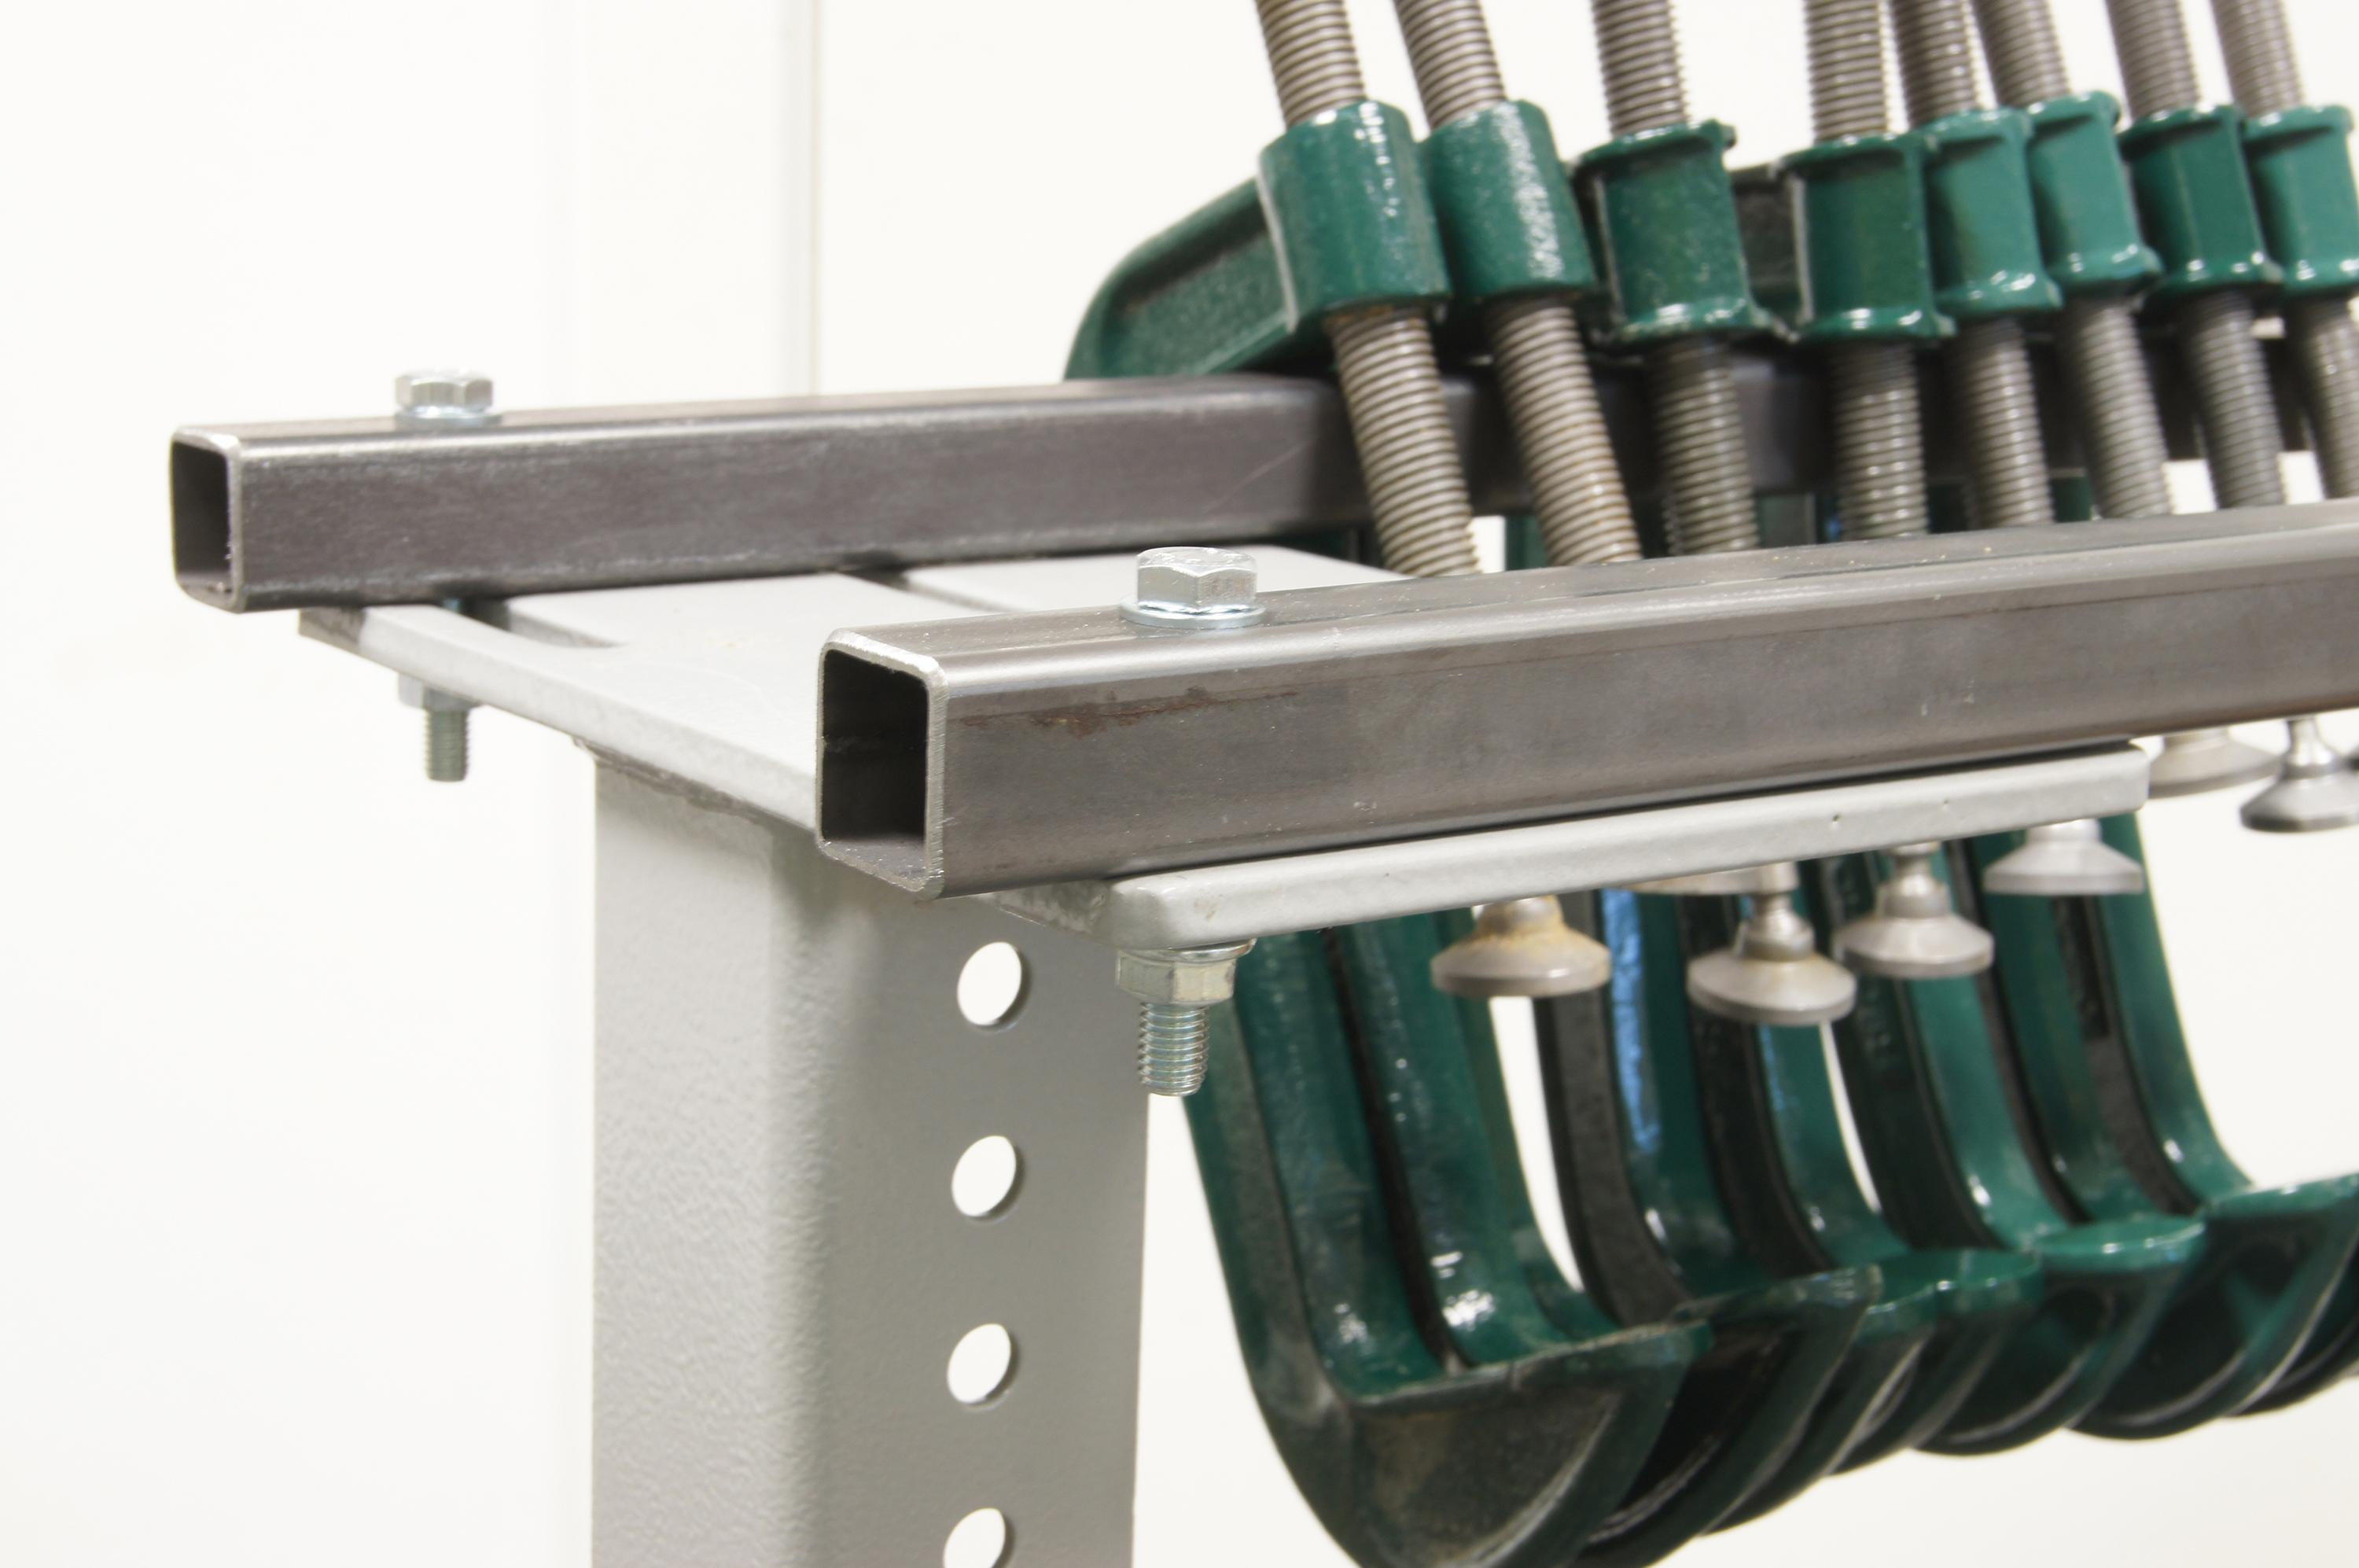
The box section steel needs to have an 8mm hole drilled 38mm from each end to correspond with the holes in the top of the lathe stand. Once you have drilled the four holes you can bolt the box section steel to the top of the stand which gives you another two racks for your G clamps.
Before you bolt the box section on it is a good idea to slacken off the bolts in the female cross brace of the stand which is item 3 in the manual. This allows you to extend the stand for the outer slots of the top plates of the stand to correspond with the holes just drilled in the Box section steel.
Place the 60mm bolts and washers through the box section and sit on top of the plates with the bolts going through the outer slots. Add the washer and nut to each bolt and fully tighten. Then tighten the two bolts to secure the cross brace of the stand and the job is complete.


Castors
Picture showing castors applied to the stand

Castor
Castors placed on to replace the rubber feet
Clamp Carriers
Showing how the clamp carriers are fixed to the stand

clamp carrier
Clamp carrier


